Anaconda Toolbox#
Anaconda Toolbox is a built-in extension for Anaconda Notebooks that enhances your coding experience with extended coding capabilities. Quickly generate, save, and share code across Notebooks and Excel, and get help from our Anaconda Assistant, learning Python as you go.
Let’s take a look at the different elements within Anaconda Toolbox.
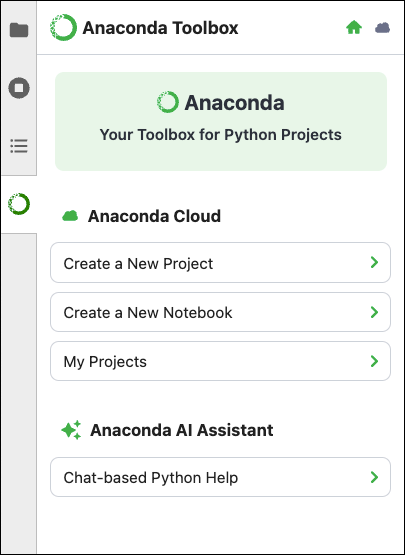
Anaconda Cloud#
Create new projects and notebooks that can be securely uploaded to Anaconda Cloud, shared with teammates in your organization, and accessed on any machine with Anaconda Notebooks or Microsoft Excel.
Code Snippets#
Write reusable code snippets that can be saved to your Anaconda Cloud projects and then used across notebooks, added to Excel workbooks, and shared with teammates.
Anaconda AI Assistant#
Use Anaconda Assistant to help you write, analyze, and debug code right within your notebooks.