Controlling access to your project#
Controlling team member access#
By default, all of the team members on a project have read and write access permissions for all project assets.
The available permissions are read, write and execute. If you remove all individual or group permissions for a project asset, team members will not be able to access that asset.
To change a project’s permissions:
Open the project’s home page.
Click the Workbench icon.
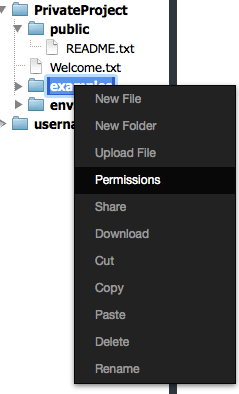
In the Workbench app, right-click the file or folder you want to limit access to.
NOTE: When you change a folder’s permissions, the permissions of files and folders inside it do not change. You may change the permissions of those files and folders manually.
In the menu that displays, select Permissions:
A list of owners and team members who have access to your project is displayed.
Find the team member you want to change access for:
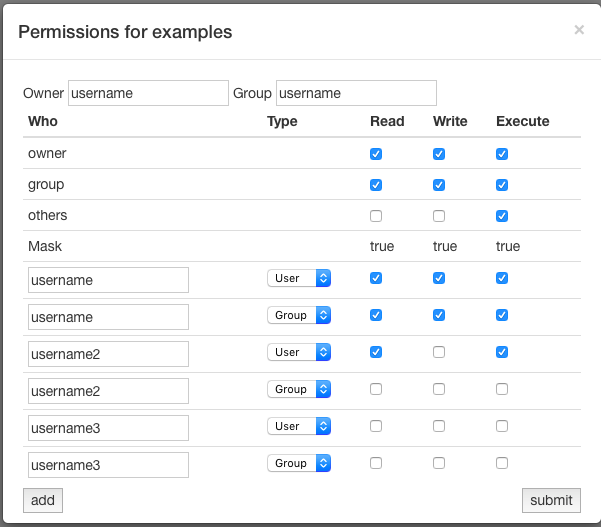
Next to the team member’s name, select or deselect the permissions for that user.
NOTE: You can add a team member and set their access at the same time by typing their name in a username box, setting their permissions, and then clicking the Add button.
Click the Submit button.
The selected permissions are added, and the deselected permissions are removed.
NOTE: If a team member is in the Workbench application when you give them access, they must refresh their browser window to see their current permissions.
Controlling non-team member access#
You can choose to grant file or folder access to someone who is not part of the project team, as long as that person has an AEN account.
Sharing with individuals outside the team is a four step process:
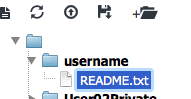
Copying a file or folder to your home directory#
Your home directory is displayed at the bottom of the File Manager pane in the Workbench.
To protect the other files and folders in your home directory—those you are not providing permissions to a user to access—we recommended that you:
Create a sub-folder.
Rename the folder with the name of the user you are granting access to.
Copy or move the file you want to grant permissions for to the renamed folder.
The file is copied or moved to the new location and is ready for you to update the file permissions.
Granting file access#
You must select read and execute access for a user to be able to view, but not edit, the files or folders.
Right-click the name of the file or folder you are granting access to.
In the menu that is displayed, select Permissions.
Click the Add button.
Type the username of the user to whom you are granting file access and press Enter.
TIP: If you grant access to a folder instead of a specific file, you only have to set permissions the first time you share the folder with each user, unless you need to update the permissions.
Adding file permissions for a user#
Once a user is included in your Permissions list, you must add the correct permissions for the user, in the same way as you would for a team member.
Once complete, depending on the access granted, the user will be able to view, read, change, and execute the file.
NOTE: If you change permissions for a folder instead of a file, the user will be able to see and access any files within that folder.
Adding a directory to a user’s workbench#
The user can now add your home directory to their Workbench File Manager.
To add your home directory to another user’s workbench, have the other user follow these steps:
Click the Show Directory button at the top of the Workbench File Manager:
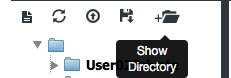
The Show Directories dialog box displays.
In the text box, type
/home/[yourusername].NOTE: Replace
[yourusername]with your AEN username.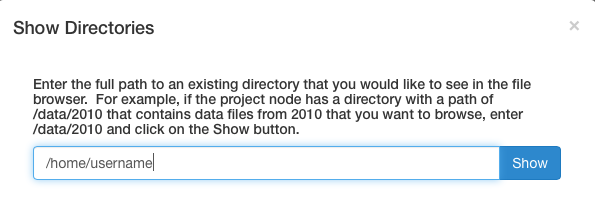
Click the Show button.
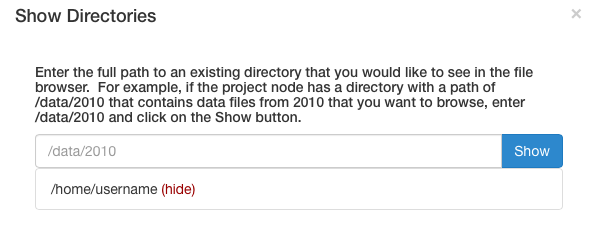
Verify that the folder is now displayed below the text box:
Close the Show Directories dialog box by clicking the X in the upper-right corner or by clicking anywhere outside the box.
Click the Refresh button.
The shared file is displayed in the File Manager: